Photo Shoot of Pregnancy: How to Plan a Maternity Shoot You Will Love
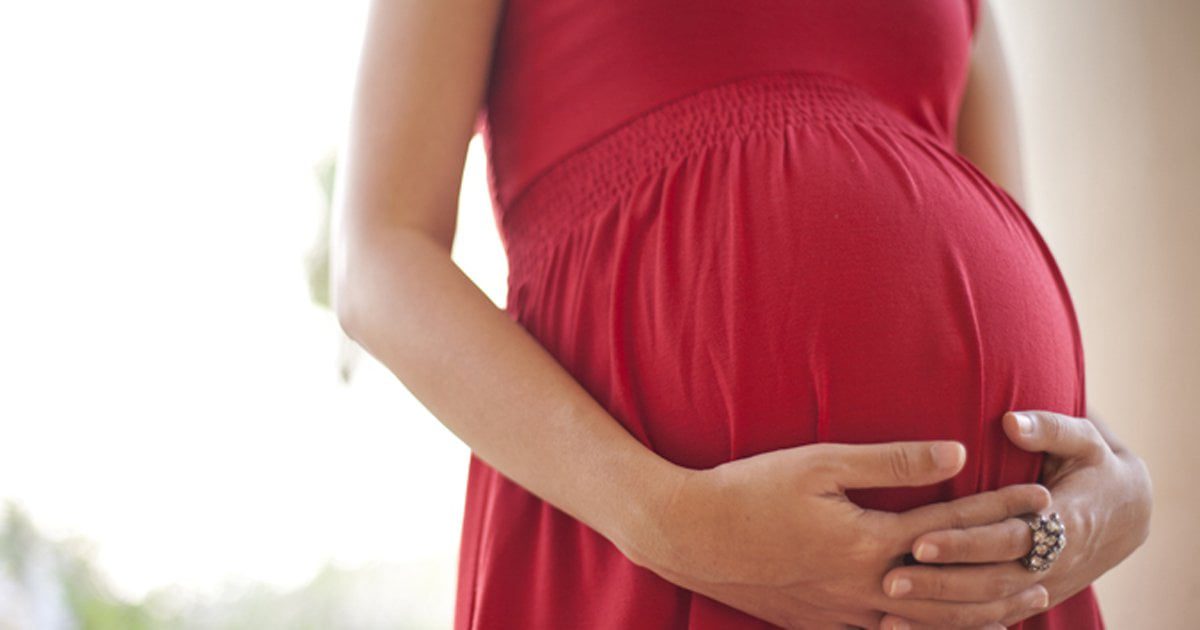
A pregnancy photoshoot, also called a maternity photoshoot, captures a special stage of life before your baby arrives. With a little planning, you can create photographs that feel personal rather than overly posed. The essentials are choosing a time when you feel comfortable, finding outfits you enjoy wearing, picking a suitable location, and allowing enough time for breaks.
This guide includes a practical planning checklist, outfit ideas, pose inspiration, a sample 60-minute photoshoot plan, photography-at-home tips, and safety advice to help you prepare with less stress.
Short answer: Many people schedule maternity photos between about 28 and 34 weeks, although the right time varies. Some prefer an earlier session, while others feel comfortable later. Choose a flexible date, wear clothes that let you move easily, use soft natural light where possible, and plan a relaxed session with breaks. Photography timing is a personal choice, not a medical rule.
Pregnancy guidelines week by week! Just Follow To Know the Pregnancy stages!
Electronic Pregnancy Tests: How Digital Tests Work, How Accurate They Are and How to Use One
How to Take Care Your Premature Baby at Home
Before You Book
Start with the feeling you want your photos to capture. Do you prefer elegant studio portraits, a relaxed session at home, a nature-inspired shoot, or family photographs that include your partner and children? You do not need to copy a complicated Pinterest-style setup to make the photos meaningful.
Before choosing a date, make five decisions:
- Style: Natural, classic, cultural, playful, editorial, or intimate.
- Location: Studio, home, garden, park, beach, or another accessible place.
- People: Solo portraits, partner, children, pets, or a combination.
- Budget: Photographer, travel, outfits, makeup, location fees, and prints.
- Backup plan: Decide what happens if the weather changes or you need to reschedule.
When to Schedule a Pregnancy Photoshoot
Many maternity photography guides suggest the late second trimester or early third trimester, often around 28 to 35 weeks. Your bump may be clearly visible while you still have time to plan and enjoy the session. However, bodies and pregnancies differ, so there is no single perfect week for everyone.
Use this as a flexible planning guide, not a guarantee:
- Around 20–27 weeks: An earlier session may suit you if you prefer a smaller bump, have travel plans, or want to avoid a busy final trimester.
- Around 28–34 weeks: A commonly chosen window for a clearly visible bump and time to reschedule if needed.
- Around 35–37 weeks: This can still work if you feel well, but consider a shorter session, fewer outfit changes, and a nearby location.
- Later in pregnancy: Keep plans flexible and prioritize comfort. Discuss any pregnancy-specific concerns with your maternity care professional.
Twins, health considerations, your energy level, and your own preferences may affect timing. If you have been advised to limit activity or travel, ask your maternity care team what is appropriate before booking.
Time of day matters too. Soft morning or late-afternoon light can be flattering outdoors. Midday sun may be harsh and hot, so choose shade or an indoor option if conditions are uncomfortable.
Studio, Outdoor, or at Home
Each location offers a different experience. Choose the one that suits your style, comfort, budget, and the weather.
Studio photoshoot
- Provides controlled lighting and a predictable environment.
- Offers privacy and may provide a comfortable place to change outfits.
- Can cost more than a simple home session.
- May require additional travel.
Outdoor photoshoot
- Works well in gardens, parks, beaches, and other natural settings.
- Offers variety in backgrounds and natural lighting.
- Requires planning for weather, heat, humidity, crowds, and uneven ground.
- May be tiring if the location involves a long walk.
At-home photoshoot
- Creates a personal and relaxed atmosphere.
- Avoids unnecessary travel.
- Allows you to include meaningful items from your home.
- Works best with good window light and a simple background.
In hot or humid weather, plan outdoor sessions for a cooler part of the day, bring water, and avoid long walks. During the rainy season, arrange an indoor backup before the shoot.
Ask whether the location has seating, shade, a nearby toilet, and a comfortable place to change outfits. These practical details can make the experience much easier.
Hiring a Photographer
Choosing the right photographer can make your experience more comfortable and enjoyable.
- Look at complete galleries, not only highlight images. Check how the photographer handles different body types, skin tones, lighting conditions, and family combinations.
- Ask for a written package list, including session length, number of edited photos, outfit changes, travel, and delivery time.
- Confirm whether you can print and share the images and whether the photographer may use them in a portfolio or on social media.
- Ask about cancellation and rescheduling if you feel unwell, the weather changes, or the baby arrives earlier than expected.
- Meet or call the photographer before booking. Feeling comfortable with the person behind the camera matters.
- Get the total fee and any extra charges in writing.
Ask how much posing guidance you will receive. If you feel awkward in front of a camera, a photographer who gives calm, clear direction may be more helpful than someone whose portfolio looks impressive but whose working style does not suit you.
I have not quoted prices because fees vary by location, photographer, package, and experience.
Budget and Package Questions
Before paying a deposit, ask these questions:
- What is included in the quoted price?
- How many final edited images will I receive?
- Are travel, studio rental, makeup, gowns, prints, or extra photographs charged separately?
- When will the gallery be delivered?
- Can I request reasonable edits, and are additional revisions charged?
- What happens if I need to reschedule?
- Can I download high-resolution files, and what personal-use or print rights are included?
Compare the complete package, not only the starting price. A lower quote may exclude travel, prints, additional images, or other costs you care about.
What to Wear
Comfort comes first. Choose clothes that make you feel like yourself and allow you to sit, stand, and move without restriction.
Outfit Ideas
- A fitted, stretchy dress that shows the bump.
- A flowy maxi dress or gown that moves naturally.
- A simple tank top or bodysuit with a long skirt or open shirt.
- A sari or another traditional outfit if you want to include your culture or family style.
- Your partner’s oversized shirt for a relaxed, personal portrait.
- A comfortable robe or another outfit for intimate portraits, if that suits your preferences.
Styling Tips
- Pick two or three outfits at most; too many changes can make the session tiring.
- Choose solid colors or gentle patterns if you want the focus to stay on your face and bump.
- Try everything on a few days beforehand and check that nothing pinches or restricts movement.
- Bring underwear and layers that feel comfortable and work with the chosen outfit.
- Wear easy-to-remove shoes and bring a shawl or robe for changing between looks.
- Coordinate family outfits by color or mood rather than dressing everyone identically.
You do not need to wear a fitted gown if it is not your style. Jeans, a favorite dress, a traditional outfit, or simple everyday clothing can all make meaningful photographs. Choose what feels authentic to you.
Newborn Skin Care: Helpful Tips to Keep Baby’s Skin Healthy
Causes of headache during pregnancy? When to be aware?
Hair, Makeup, and Personal Details
- Choose a makeup style you feel comfortable wearing; natural makeup is not a requirement.
- Use familiar skincare products rather than experimenting with something new on the day.
- Prepare your hair in the style you want to see in the photographs.
- If you wear jewelry, choose pieces that are comfortable and do not catch on clothing.
- Bring lip balm, a hairbrush, and any small touch-up items you expect to need.
If you plan to use a new cosmetic product or have a skin concern, check its suitability with an appropriate professional rather than testing it for the first time just before the shoot.
Pregnancy Photoshoot Pose Ideas
A good photographer can guide you, but you can also save a short list of poses you like. You do not need to perform every pose; choose the ones that feel comfortable.
- Side Profile: Stand sideways and rest your hands gently on or beneath your bump.
- Hands on the Bump: Place your hands naturally around your belly. A heart shape is optional.
- Seated Portrait: Sit on a stable chair with support and relax your shoulders.
- Slow Walking: Take a few gentle steps on a flat, safe surface while the photographer captures natural movement.
- Looking Over Your Shoulder: Turn only as far as feels comfortable.
- Side-Lying Portrait: Use pillows for support and keep the pose brief if it feels comfortable. Avoid any position that makes you dizzy, breathless, or uncomfortable.
- With Your Partner: Stand together, hold hands, or let your partner place their hands gently around your bump.
- Close-Up Details: Photograph hands, a ring, baby clothes, tiny shoes, or an ultrasound image.
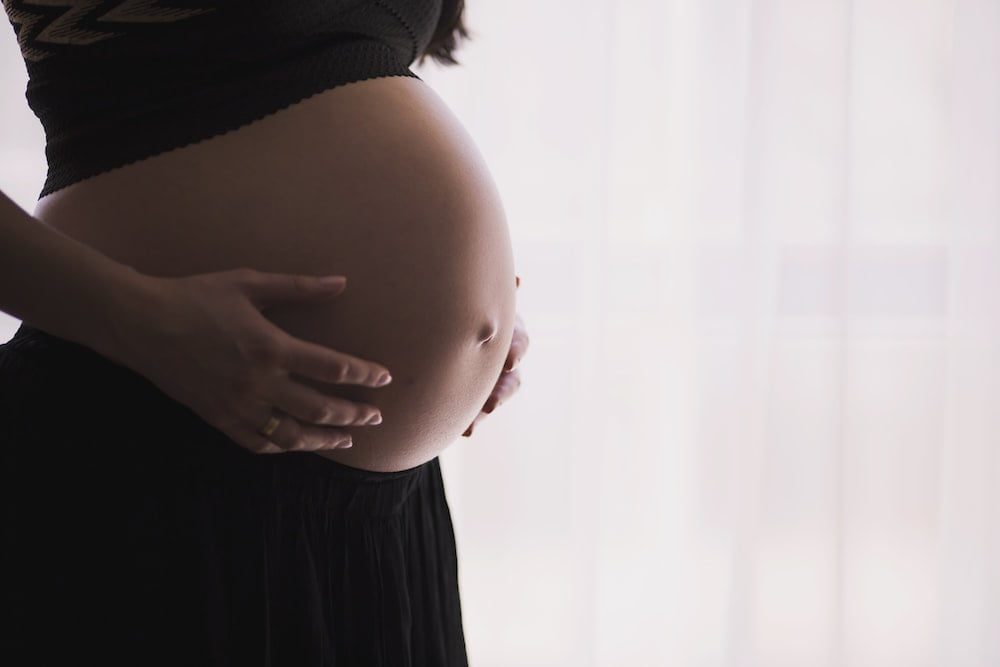
- Window-Light Silhouette: Stand near a bright window for a simple outline.
- Candid Moments: Talk, laugh, or walk together instead of looking at the camera in every frame.
- Traditional or Cultural Portrait: Include clothing, jewelry, or another detail that has personal meaning.
- A Quiet Portrait: Look down, close your eyes briefly, or gaze out of a window if that feels natural to you.
Pose tip: Relax your shoulders, keep your breathing comfortable, and ask for a break whenever you need one. You do not need to hold a pose for a long time to get a good photograph.
Including Your Partner, Children, and Pets
Partner and family photos can tell a story about the people waiting to welcome the baby. Partners can hold hands, embrace, or stand beside you. Children might touch the bump, hold a baby blanket, or sit with you.
If young children are joining, bring snacks and ask another adult to help. Consider taking the family photos early, while everyone has energy. Pets can be included if they are calm, safe to handle, and welcome at the location.
Plan a few photographs with everyone and a few with just you. That gives you a mix of family memories and portraits focused on this stage of your own life.
Props and Meaningful Details
A few small details can make the photos more personal:
- An ultrasound picture.
- Tiny shoes, socks, or a baby blanket.
- Flowers.
- A family heirloom or piece of jewelry.
- A letter to your baby.
- A small sign with a name or due date, if you want to share that information.
- A book or another object that has special meaning to your family.
Use only the props you genuinely care about. Too many props can distract from the people in the photographs.
You do not need to show a due date, baby’s name, ultrasound image, or any other private detail if you would rather keep it personal.
A Sample 60-Minute Photoshoot Plan
Use this as a flexible example to discuss with your photographer, not a schedule you must follow. Shorten it or add breaks depending on how you feel.
- Minutes 0–10: Arrive, settle in, check the light, and begin with simple portraits.
- Minutes 10–25: Take solo portraits in your main outfit, including standing and seated options.
- Minutes 25–35: Capture close-ups, silhouette images, or photographs with a meaningful prop.
- Minutes 35–45: Take partner, children, or family photographs, if included.
- Minutes 45–55: Try an optional second outfit or take a few relaxed candid photographs.
- Minutes 55–60: Check whether there are any important shots you have not captured, then finish without rushing.
Build breaks into the plan. If the session runs over, skip less important poses rather than rushing or pushing through discomfort.
Safety and Comfort
Your comfort should always come before getting a particular photograph.
- Drink water, eat as you normally would before a session, and bring a snack if helpful.
- Take breaks and sit when you need to.
- Avoid overheating and prolonged time in direct sun.
- Wear shoes with a good grip and avoid slippery rocks, steep steps, or unstable surfaces.
- Do not lift heavy props or attempt poses that strain your back or balance.
- Keep your phone accessible and know how to contact your maternity care team.
- Avoid entering deep or fast-moving water for photographs.
- If you have been advised to limit activity, discuss the plan with your maternity care professional.
Stop the session if you feel dizzy, faint, unusually short of breath, or in pain. Rest and seek appropriate medical advice if symptoms persist or concern you.
Important health warning: If you experience a severe or persistent headache, vision changes such as blurring or flashing lights, sudden swelling of your face or hands, pain below your ribs, or feel seriously unwell, seek urgent advice from your maternity care team or local urgent medical service. Do not treat these symptoms simply as a reason to reschedule the shoot.
For more information, see the NHS guidance on headaches in pregnancy.
A Simple Shoot-Day Checklist
Before leaving home, check that you have:
- Outfits tried on and ready.
- Comfortable shoes and slippers.
- Water and a light snack.
- A robe, shawl, or cover-up for changing.
- A hairbrush, lip balm, and familiar touch-up products.
- An ultrasound photo or other chosen props.
- A fan, umbrella, or weather-appropriate layers.
- Your partner’s and children’s outfits, if needed.
- A charged phone and a short shot list.
- The photographer’s contact details and location information.
- Any access, seating, changing, or break requirements agreed in advance.
- A backup plan for bad weather or a change in how you feel.
Arrive a few minutes early if possible so you can settle in without rushing.
Taking the Photos Yourself
You can create lovely maternity photos at home with a phone and a few simple tools.
- Use soft window light and avoid harsh direct sunlight.
- Use a tripod or stable phone stand with a timer or remote shutter.
- Keep the background simple and remove distracting objects.
- Wipe the camera lens before taking pictures.
- Take both vertical and horizontal photos if you may use them in different places.
- Ask a trusted friend to help with candid photographs or camera framing.
- Take several shots and choose your favorites afterward.
- Mark the tripod position or save the camera height if you want to create a series of photos over several weeks.
- Check that the phone or camera is stable before stepping into position. Avoid climbing on furniture or unstable objects to get a higher angle.
A simple setup is enough: window light, a stable camera, a comfortable outfit, and a background you like. You do not need expensive equipment to make the pictures meaningful.
Editing, Storing, and Sharing Photos
Choose an editing style that still looks like you. You can adjust brightness, contrast, and color without feeling pressure to change your body or skin.
Back up the original files in two places, such as a computer and a secure cloud account or external drive. Print a few favorites or create an album if that appeals to you.
Before sharing online, consider whether you are comfortable showing your location, due date, ultrasound image, or other personal details. Ask family members before posting photographs that include them, and agree with your photographer whether the images may be used in a public portfolio.
Mistakes to Avoid
- Booking so late that you have little flexibility.
- Choosing outfits that feel restrictive.
- Planning an outdoor session at the hottest time of day.
- Bringing too many outfits or props.
- Skipping breaks to stay on schedule.
- Trying an unfamiliar cosmetic product just before the shoot.
- Copying poses that do not feel comfortable or authentic.
- Comparing yourself with heavily edited photographs.
- Failing to agree on image delivery, usage rights, and rescheduling terms before paying.
- Treating a shot list as a requirement rather than a guide.
Frequently Asked Questions
When is the best time for a pregnancy photoshoot?
Many people choose around 28–34 weeks, but there is no perfect week for everyone. Consider your comfort, schedule, pregnancy circumstances, and photographer’s availability.
How long does a maternity photoshoot take?
Around an hour is one possible plan, but sessions vary. Allow time for breaks, outfit changes, travel, and family photographs.
What should I wear for a pregnancy photoshoot?
Wear something comfortable that reflects your style. Stretchy dresses, maxi dresses, traditional clothing, simple tops, and relaxed everyday outfits can all work well.
Can I do a pregnancy photoshoot at home?
Yes. Use a stable phone stand, soft window light, a simple background, and a timer or helper. Check the camera framing before you begin.
Is a pregnancy photoshoot safe?
A relaxed session may be suitable for many people, but comfort and individual circumstances matter. Avoid overheating, unstable locations, and uncomfortable poses. Ask your maternity care professional if you have concerns, and seek urgent advice for warning symptoms such as a severe headache or vision changes.
Should I include my partner and children?
That is a personal choice. You can take a few family photographs and keep the rest of the session focused on solo portraits.
What if my baby arrives earlier than expected?
Ask the photographer about rescheduling before you book. If you want a more flexible plan, consider arranging the session before the final weeks and choosing a photographer with a clear rescheduling policy.
How many outfits should I bring?
Two or three outfits are usually enough for a short session. More changes can take time and make the session tiring.
Do I need a professional photographer?
No. A phone, tripod, timer, and good natural light can work well at home. A professional may help with lighting, posing, and a more varied set of images, but the right choice depends on your budget and preferences.