AI Tools for Small Businesses
4 easy ways to take screenshot on Mac computer

There are several ways to take a screenshot on a Mac:
- The first way is to press the Command + Shift + 3 keys. This will take a screenshot of the entire screen.
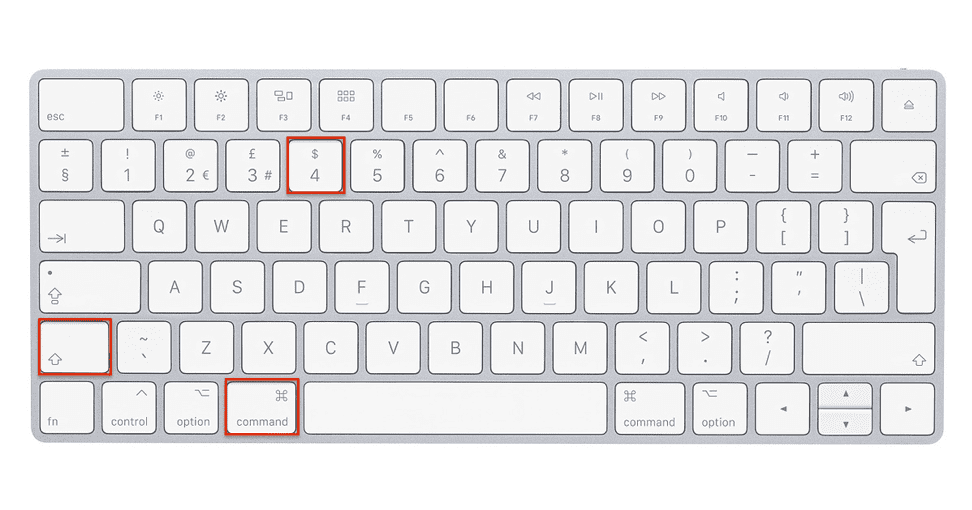
- If you want to take a screenshot of a specific area of the screen, you can press the Command + Shift + 4 keys. This will turn the cursor into a crosshair, which you can then use to select the area of the screen that you want to capture.
- If you want to take a screenshot of a specific window, you can press the Command + Shift + 4 keys, then press the Spacebar. This will turn the cursor into a camera icon, which you can then use to select the window that you want to capture.
- If you want to take a screenshot and save it to the clipboard instead of to a file, you can press the Control key along with the above key combinations.
Once you have taken a screenshot, it will be saved to the desktop by default. If you want to change the default save location, you can use the Grab, a built-in app in MacOS, which allows you to take screenshots and save them to a specific location.
Tags: mac screenshot to clipboard, how to crop a screenshot on mac, screenshot on macbook air, screenshot on macbook pro, how to snip on mac, mac screenshot external monitor, how to paste screenshot on mac, where do screenshots go on mac,


